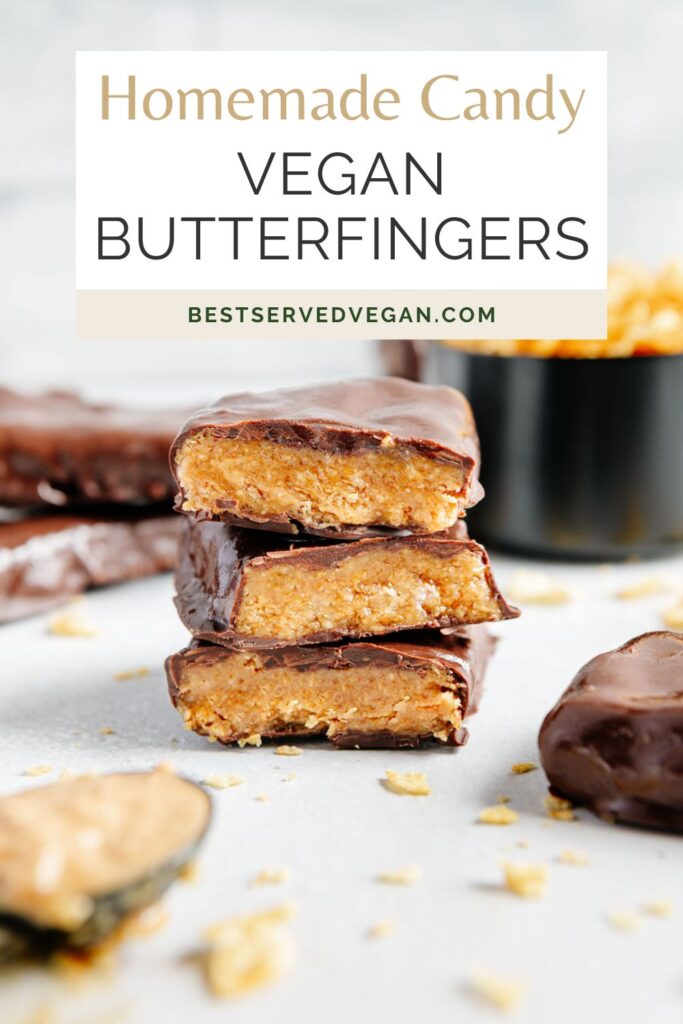
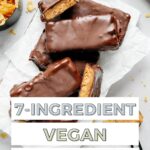
Craving a chocolaty, decadent candy bar, but don't want all of the added sugar? Try this homemade vegan Butterfingers recipe that will satisfy your cravings but only has 7 ingredients and is so much healthier than store-bought candy!
Oh the nostalgia that comes rushing back when you see all of the candy bars start to fill the grocery stores as we near Halloween.
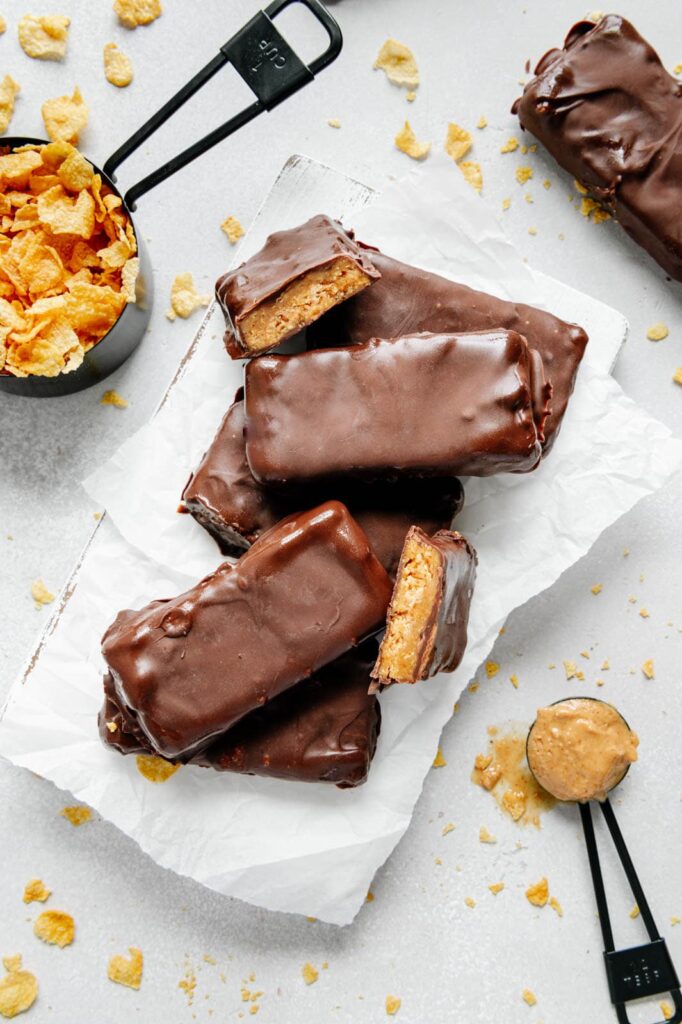
Who else remembers dumping out ALL of your candy from Halloween night on the floor to sort through it? There was no better feeling than basking in the glory of all of the candy you've collected over the course of the night. One of my absolute FAVORITE candy bars that I always looked for were Butterfingers. The crunchy, peanut butter filling that's covered in chocolate... What's not to love?
Once I went vegan, I sadly ended my love affair with Butterfingers. But today, we are rekindling the flame because I have an incredible recipe for homemade vegan butterfingers that is to DIE for! Seriously!
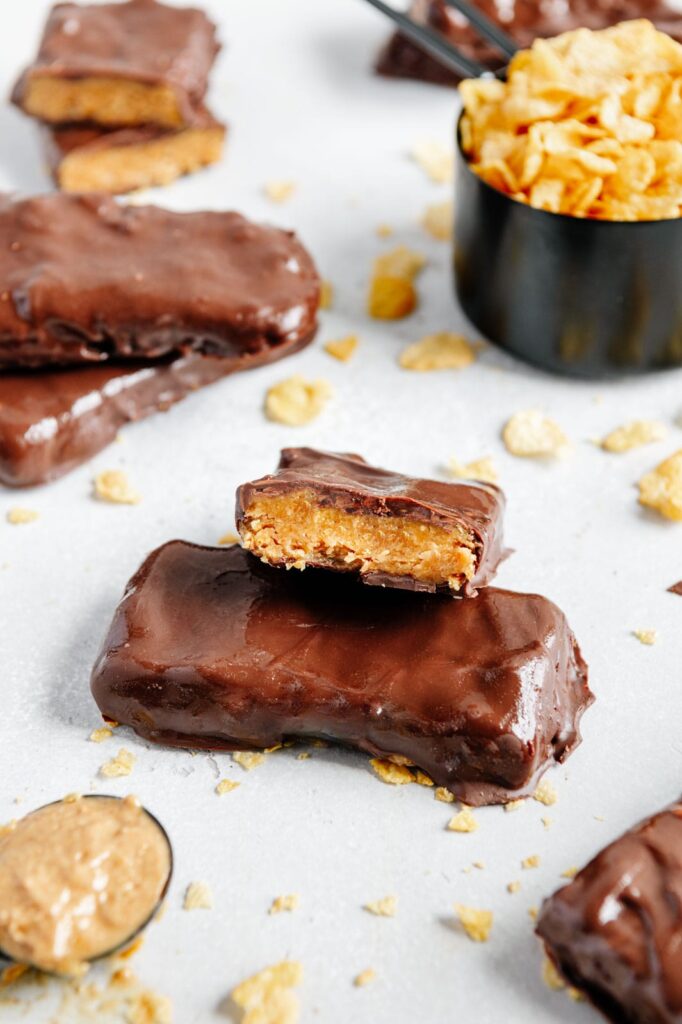
This vegan butterfingers recipe does not disappoint. It has all of the same crunchy, peanut butter, chocolatey flavor that you know and love but is so simple to make, requires no baking, and is SO much healthier than the store-bought candy bar. Check, check, and check!
What's a Butterfinger
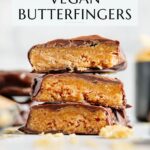
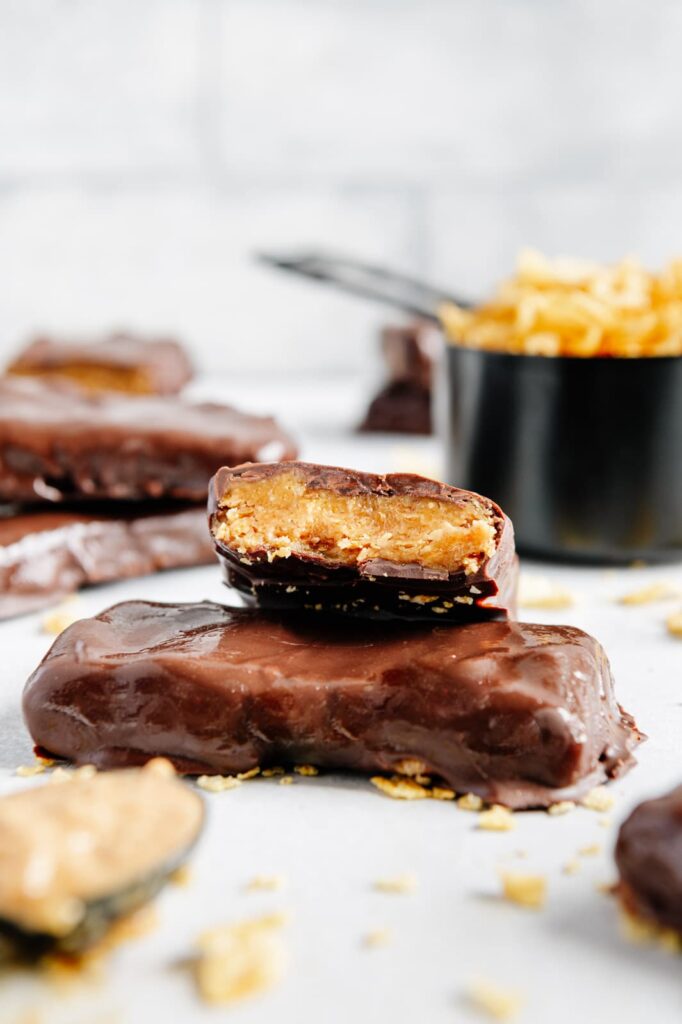
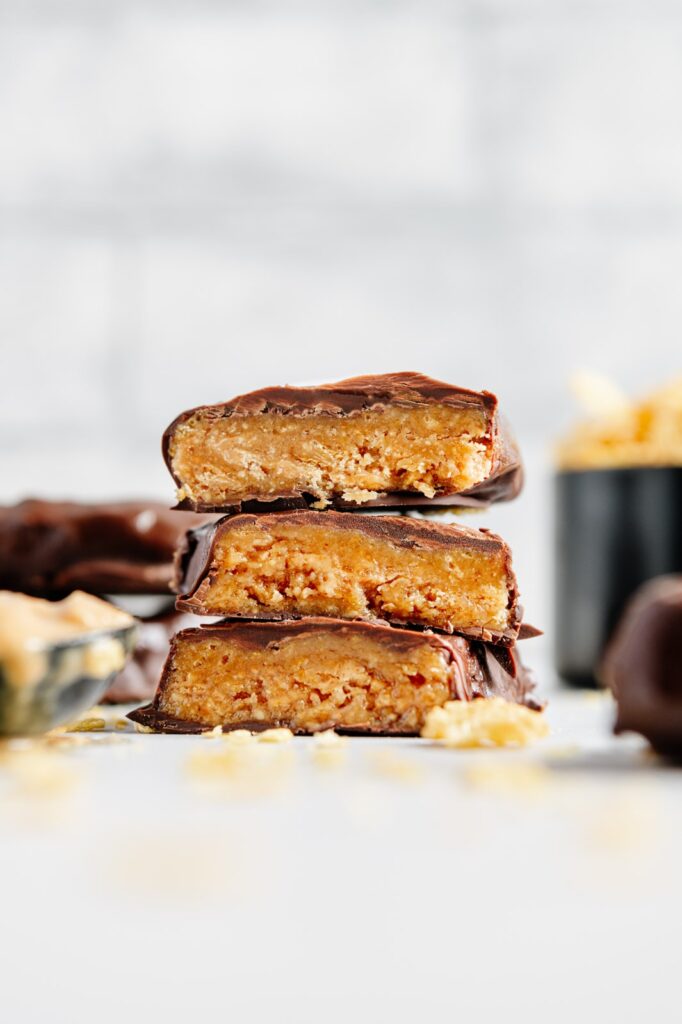
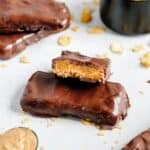
The Butterfinger bar was originally released in the 1920s by the Curtiss Candy Company. Butterfingers has a toffee-like center that is crunchy and full of peanut butter flavor that's covered in chocolate.
The real Butterfingers bar unfortunately is full of corn syrup, sugar, and palm oil, and definitely not vegan. My goal was to get the crunchy, peanut buttery, chocolatey flavor using simple ingredients.
Recipe Ingredients
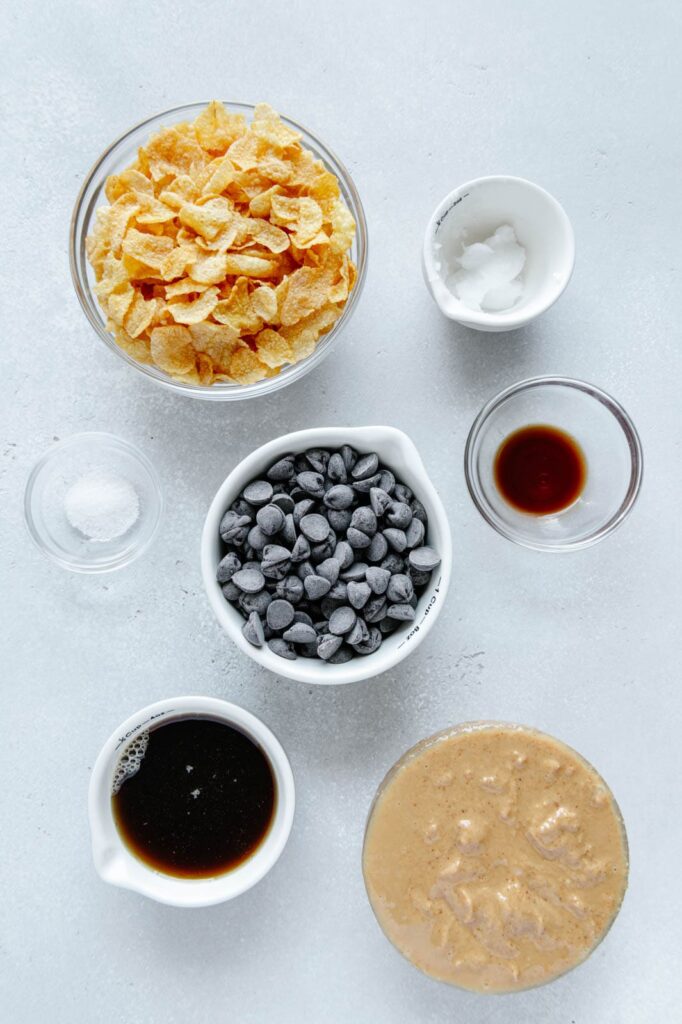
Shockingly, these vegan Butterfingers only require 7 ingredients:
- Peanut butter – Nut butter is packed with protein and healthy fats. If you want to get the most classic Butterfingers flavor, use peanut butter. However, if you prefer another nut butter go for it!
- Cornflakes - This is how you'll get that classic Butterfinger crunch! I like either the Nature's Path Millet Rice Flakes or the One Degree Organic Sprouted Ancient Maize Flakes.
- Maple Syrup - This will help melt the peanut butter and bind everything together. This will give the Butterfingers a satisfying sweetness without adding refined sugar.
- Vanilla Extract - I love the depth of flavor vanilla gives to this recipe. If you have vanilla paste or vanilla powder on hand you can also use either of those.
- Salt - A touch of salt will wake up all the other flavors of these tasty snacks.
- Vegan Chocolate Chips – Luckily, it’s not too hard to find vegan chocolate chips these days. I like the Enjoy Life brand because they are widely available at a lot of grocery stores.
- Coconut Oil - Just a touch of coconut oil melted with the chocolate chips will make the chocolate harden beautifully.
How to Make Homemade Butterfingers
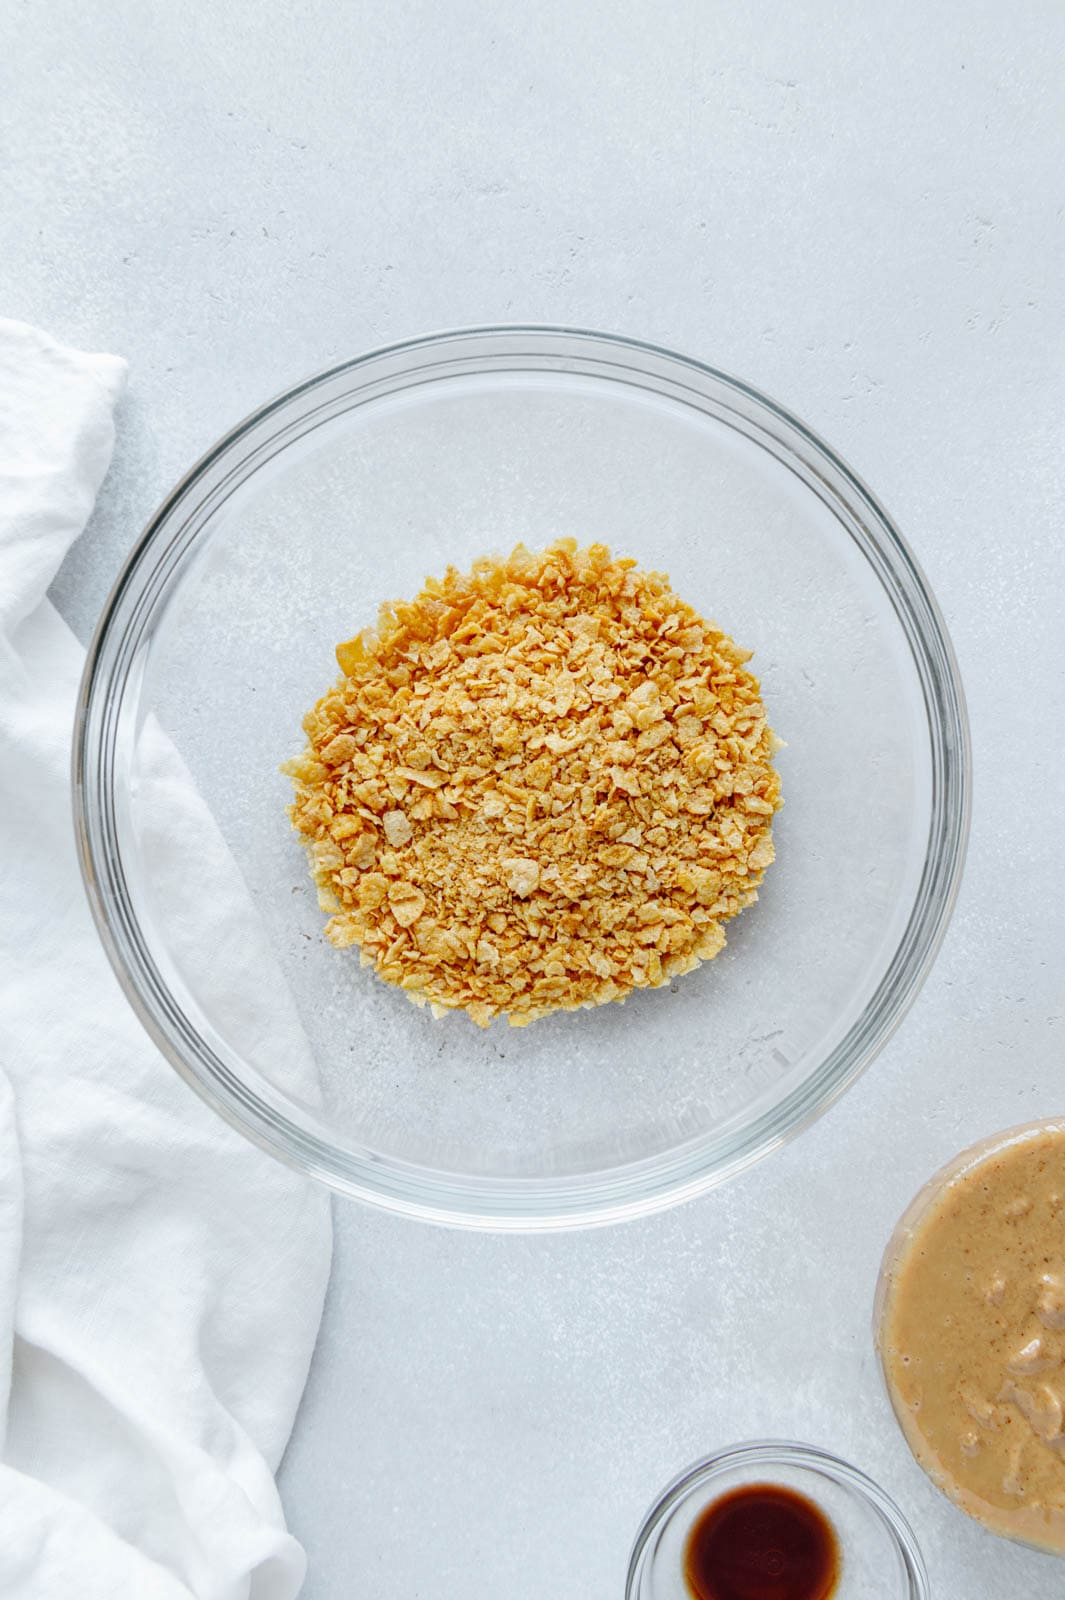
Place the cornflakes in a reusable bag and crush them until they are ground into a medium-fine crumb. Then, pour the cornflakes into a large mixing bowl.
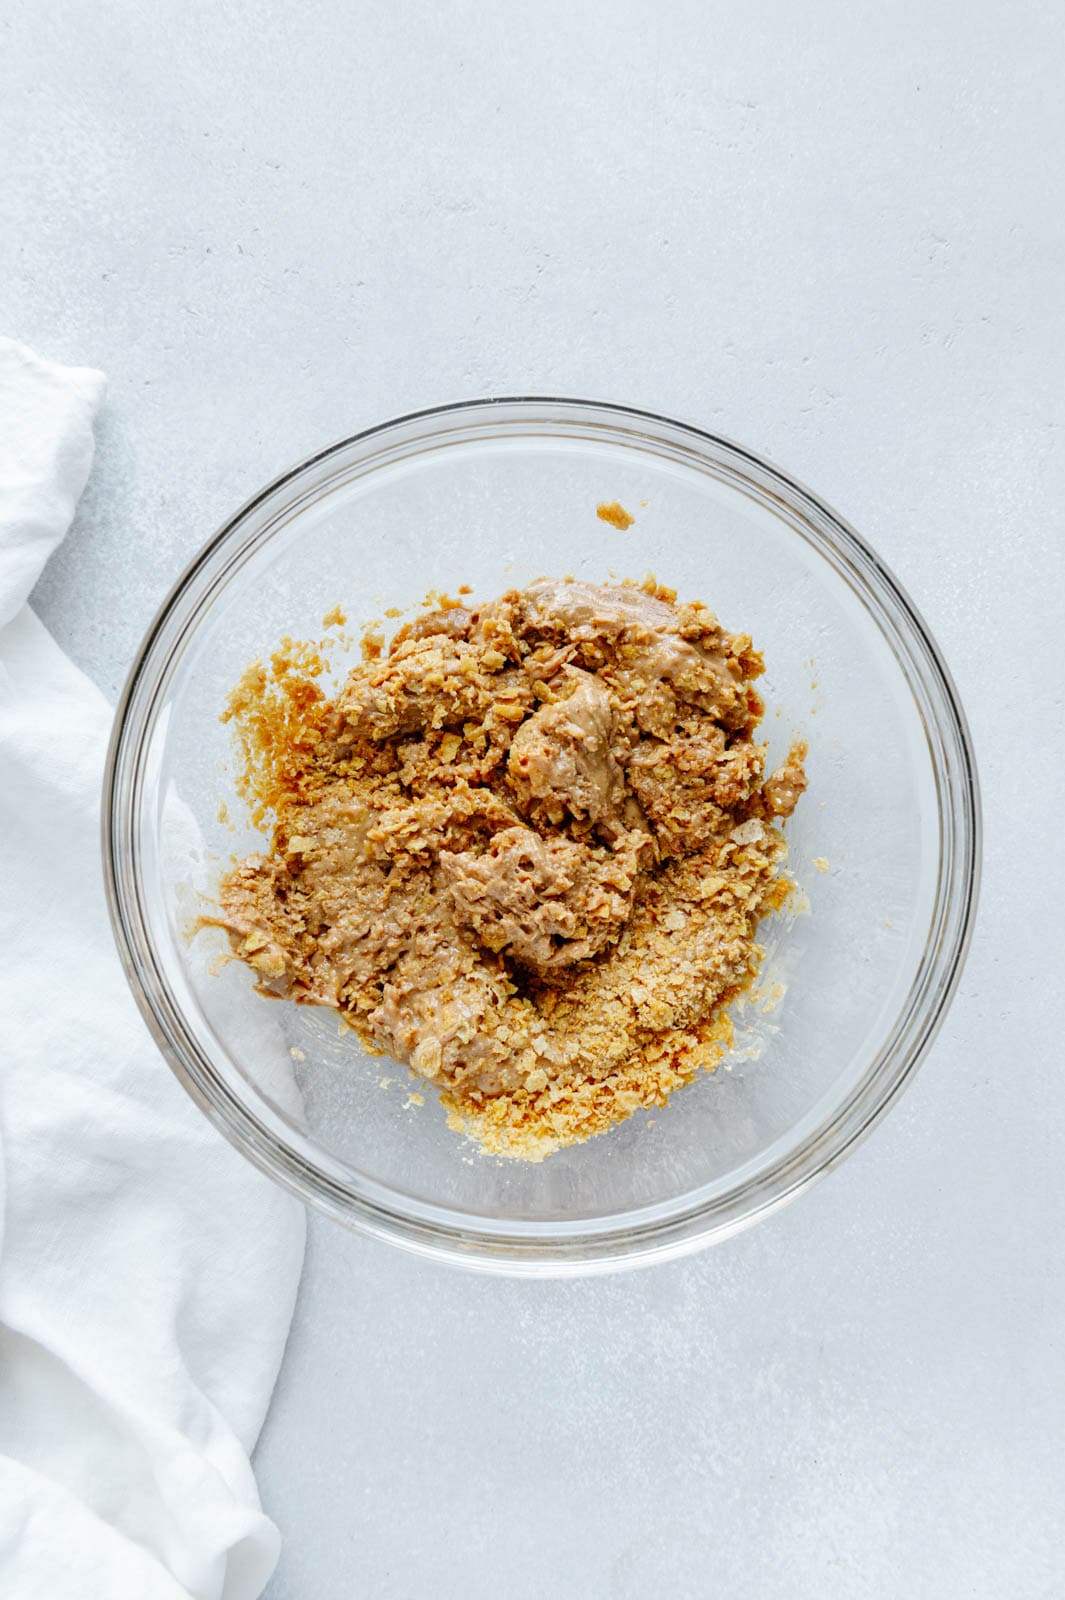
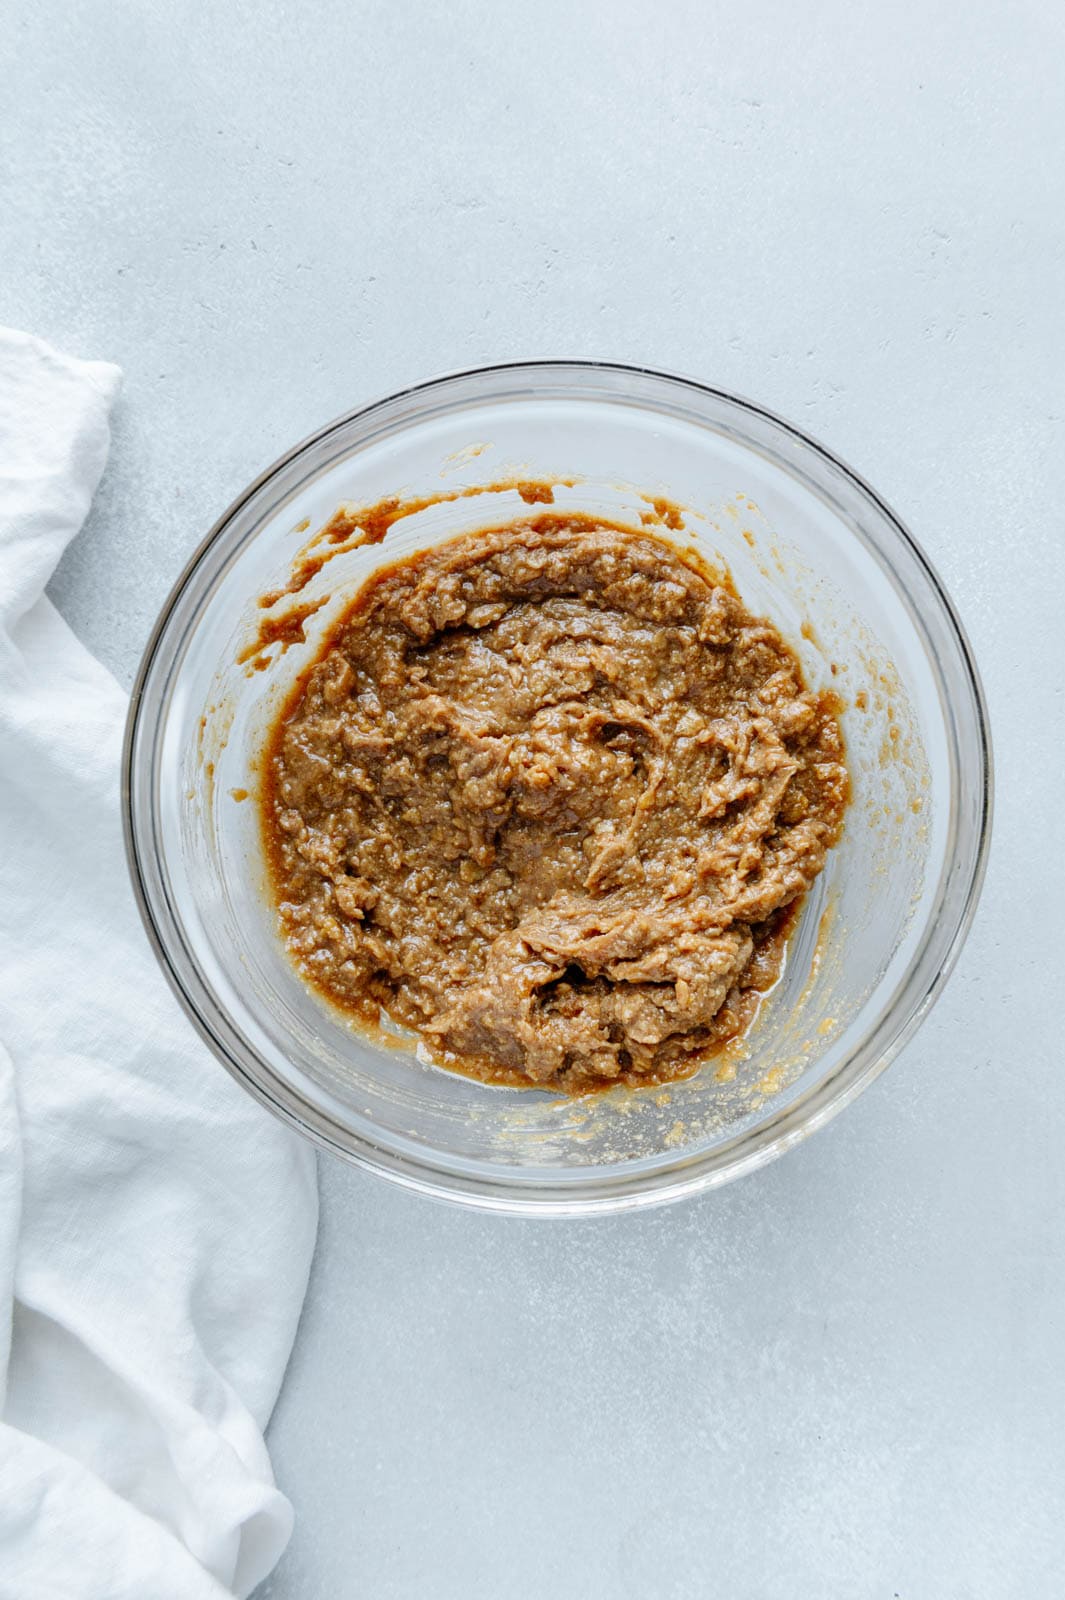
To the mixing bowl, add the peanut butter, vanilla extract, and salt. Stir until everything is combined and set aside.
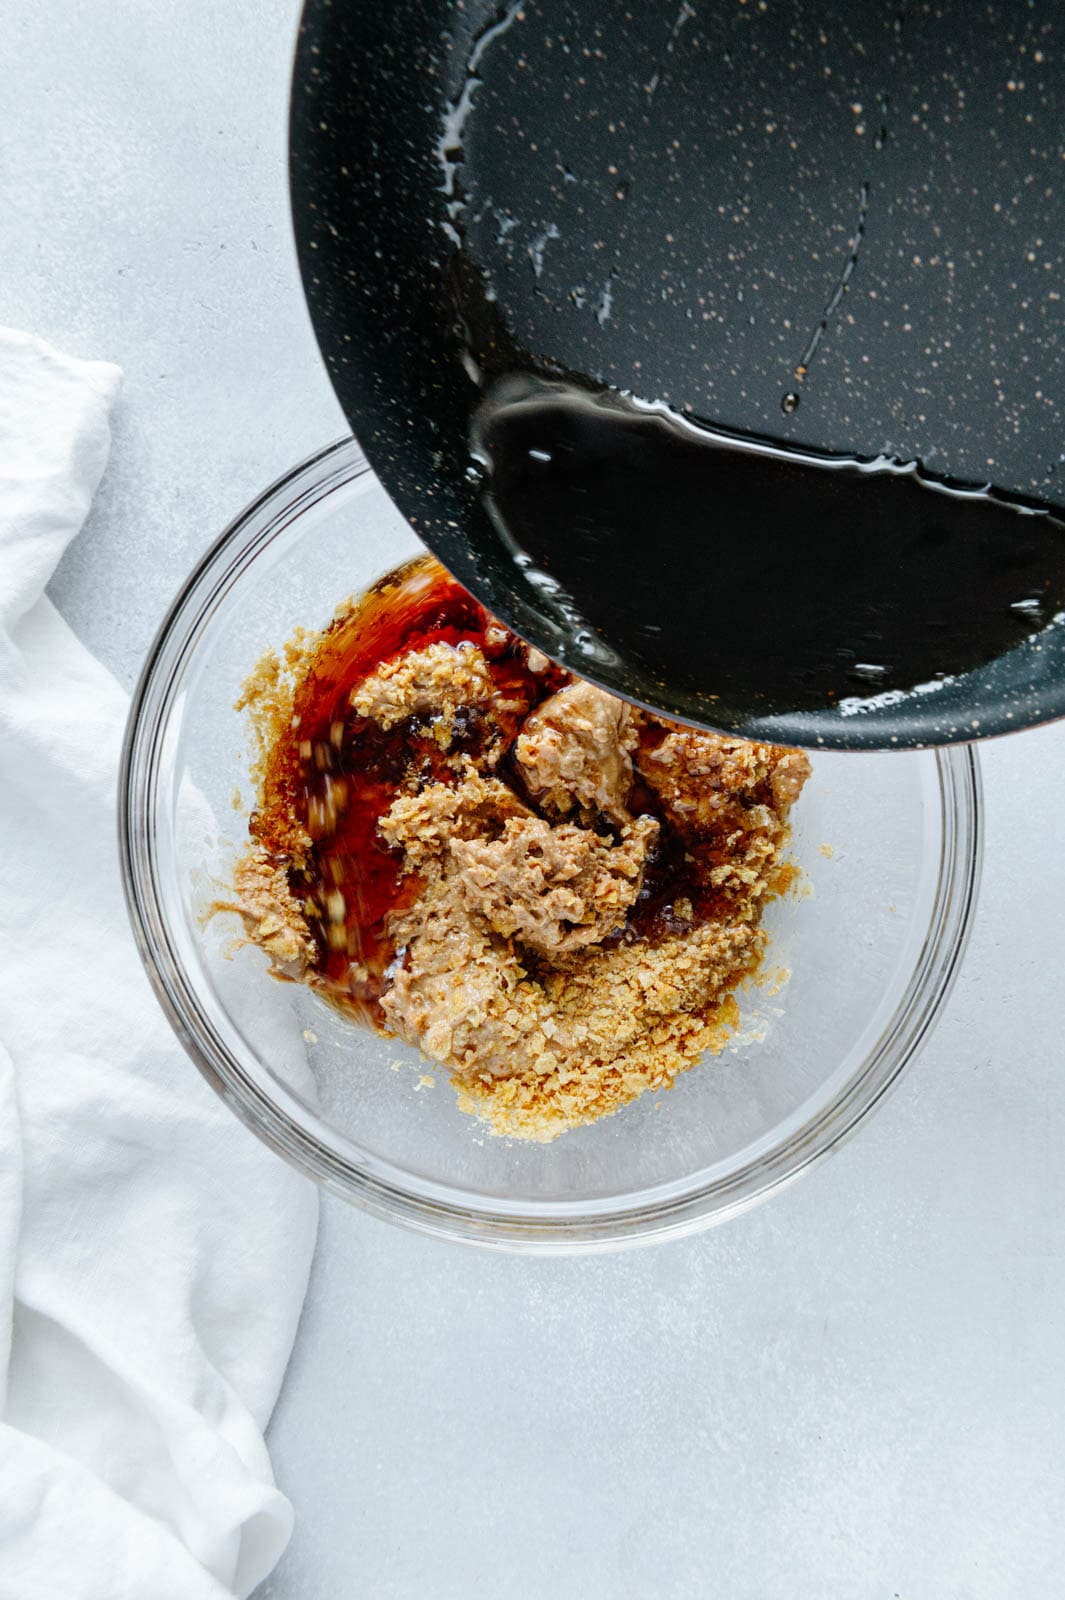
In a non-stick saucepan, heat the maple syrup on medium heat mixing consistently so nothing burns. Right as the maple syrup is about to boil (3-5 minutes), pour it over the peanut butter mixture. Mix until everything is incorporated.
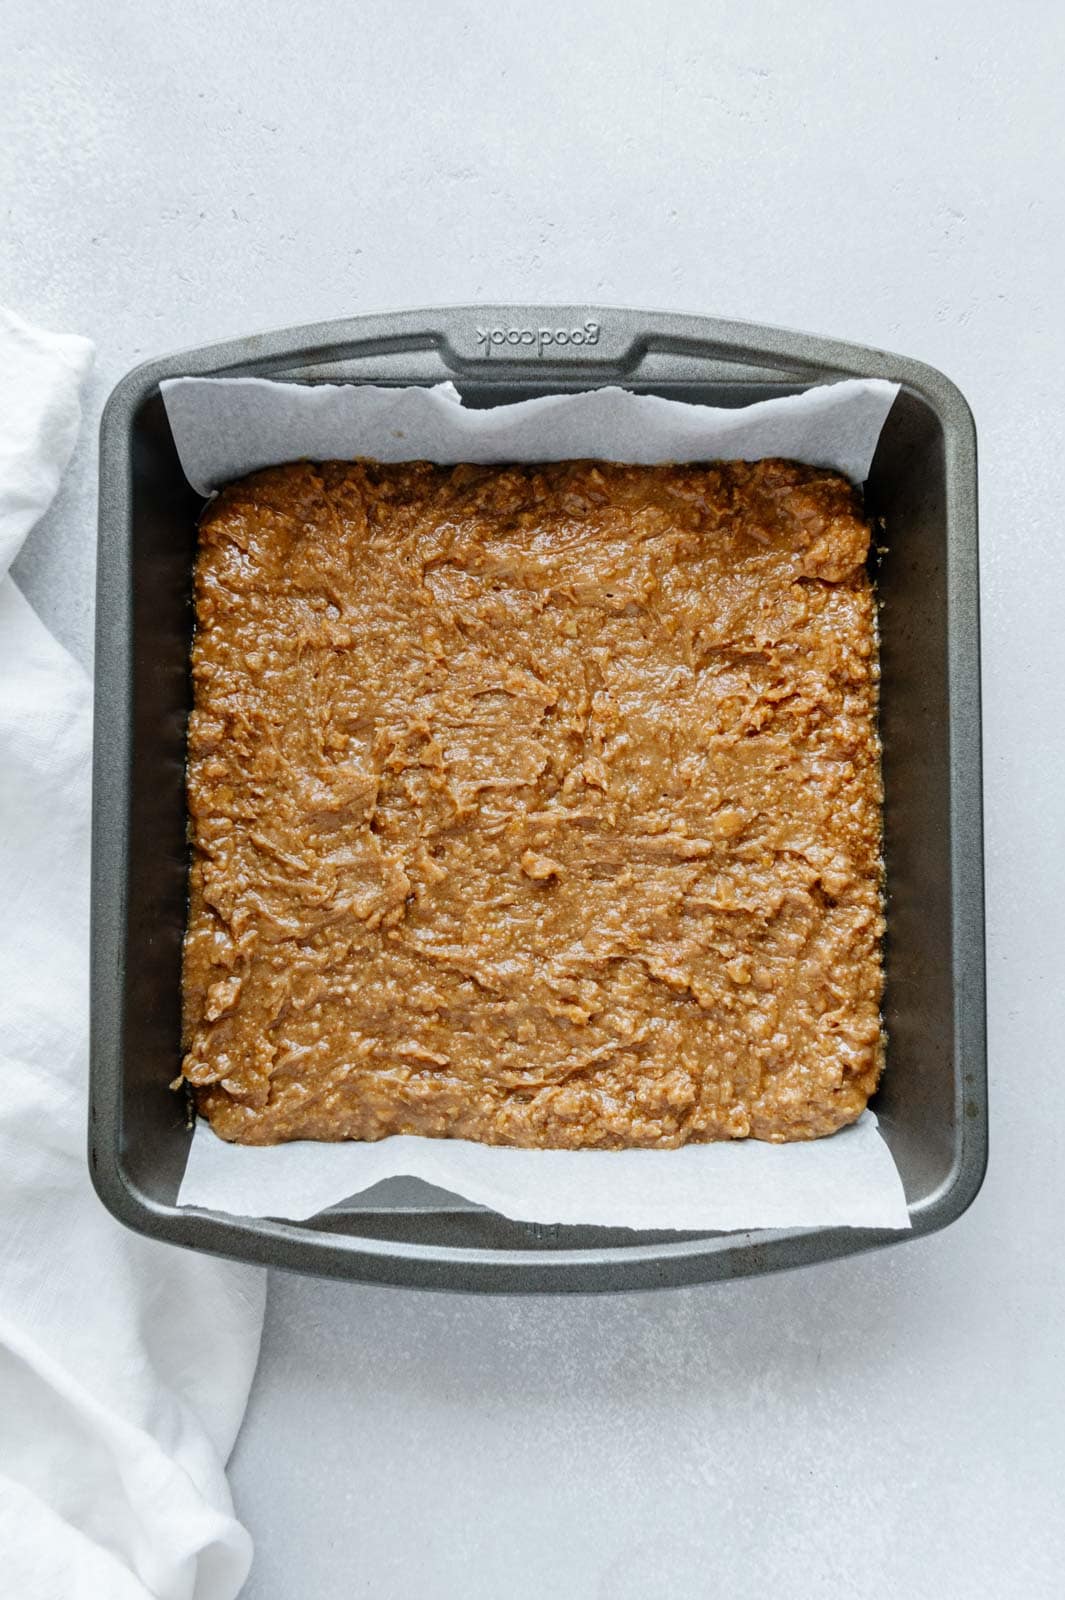
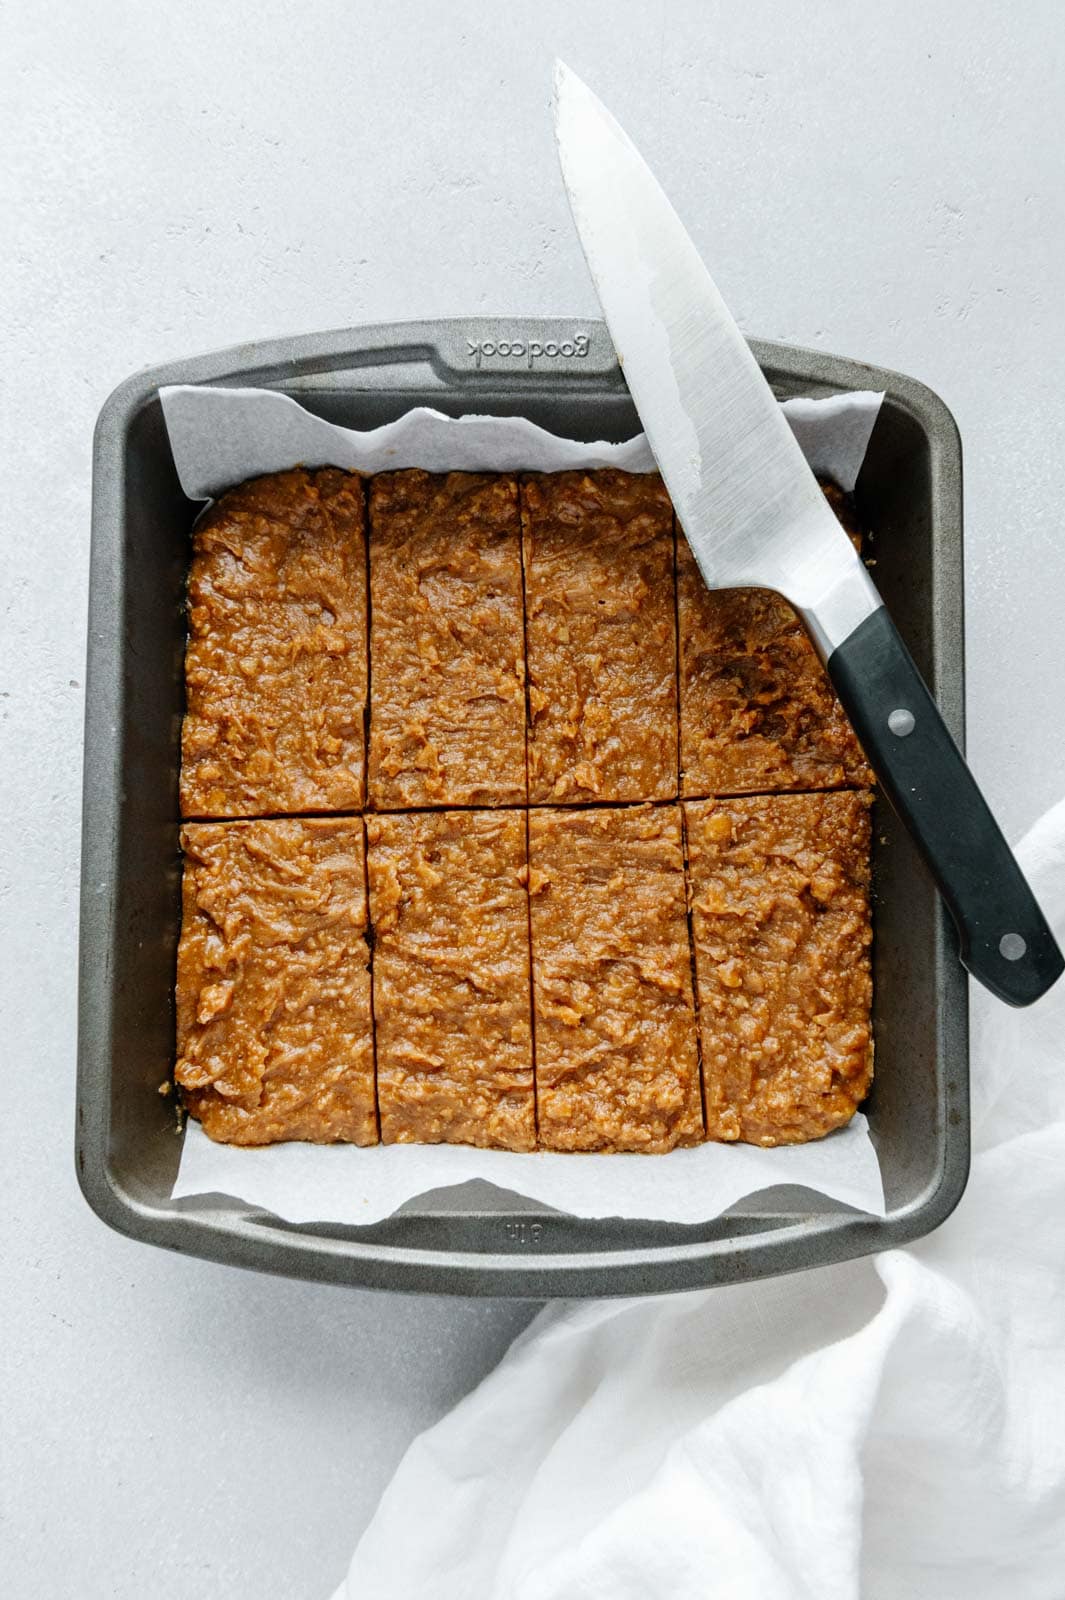
Transfer the mixture to an 8x8 baking pan lined with parchment paper. Use a rubber spatula to press down the mixture into an even layer. Freeze for an hour until the filling sets. After the filling has set, slice into 8 bars.
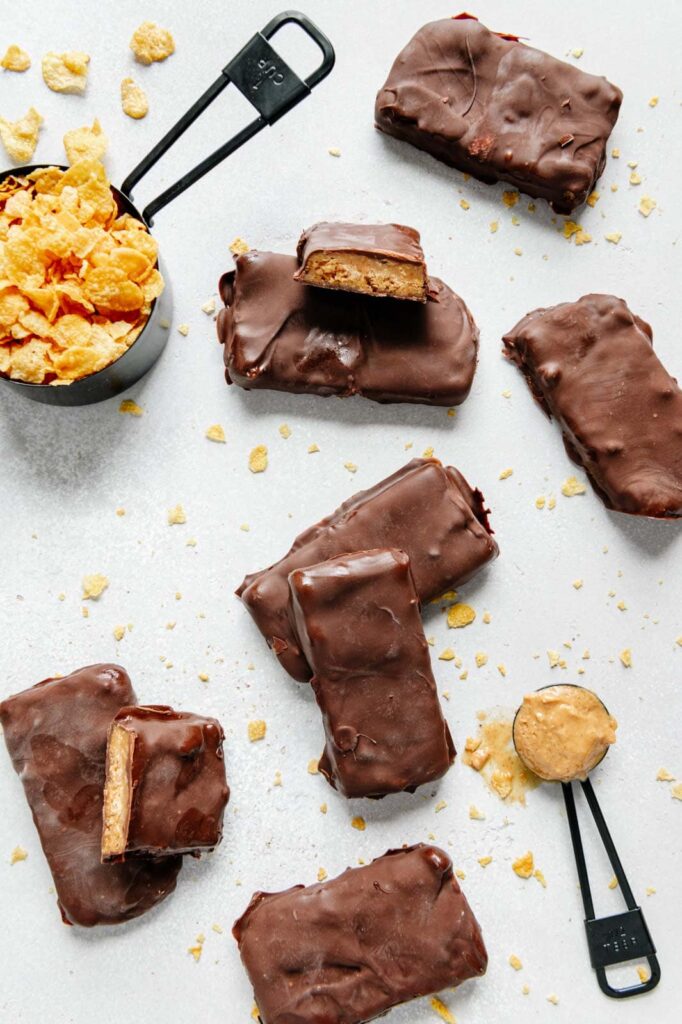
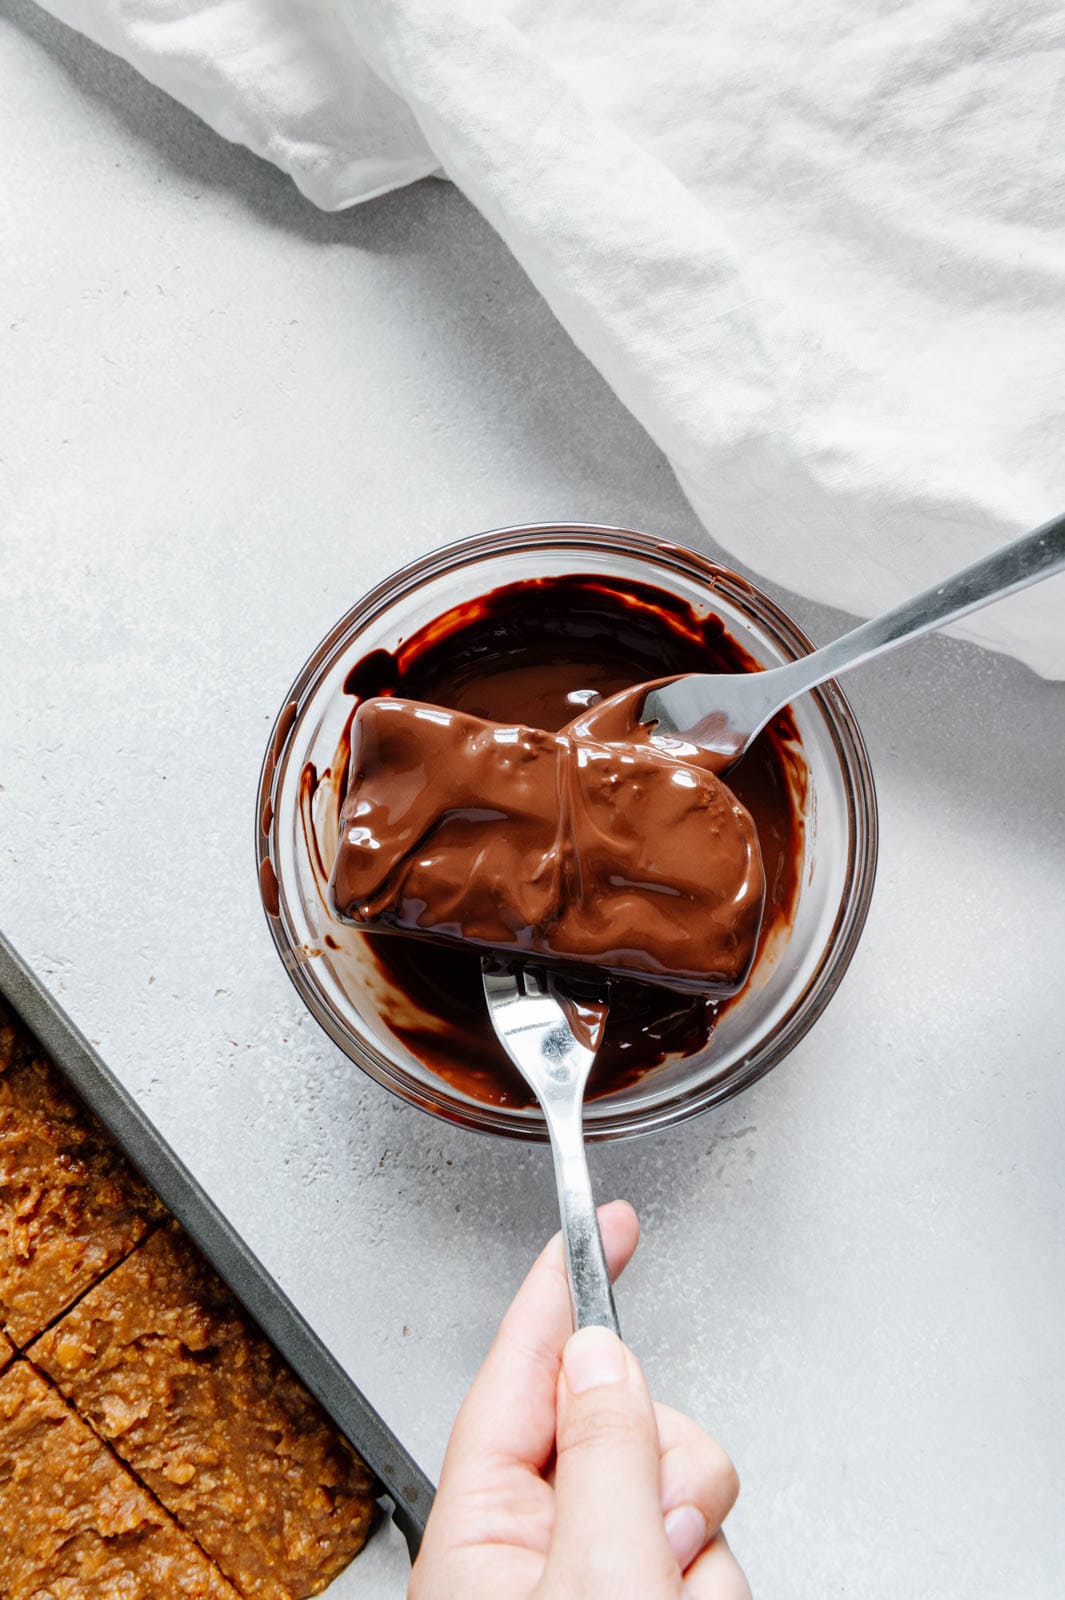
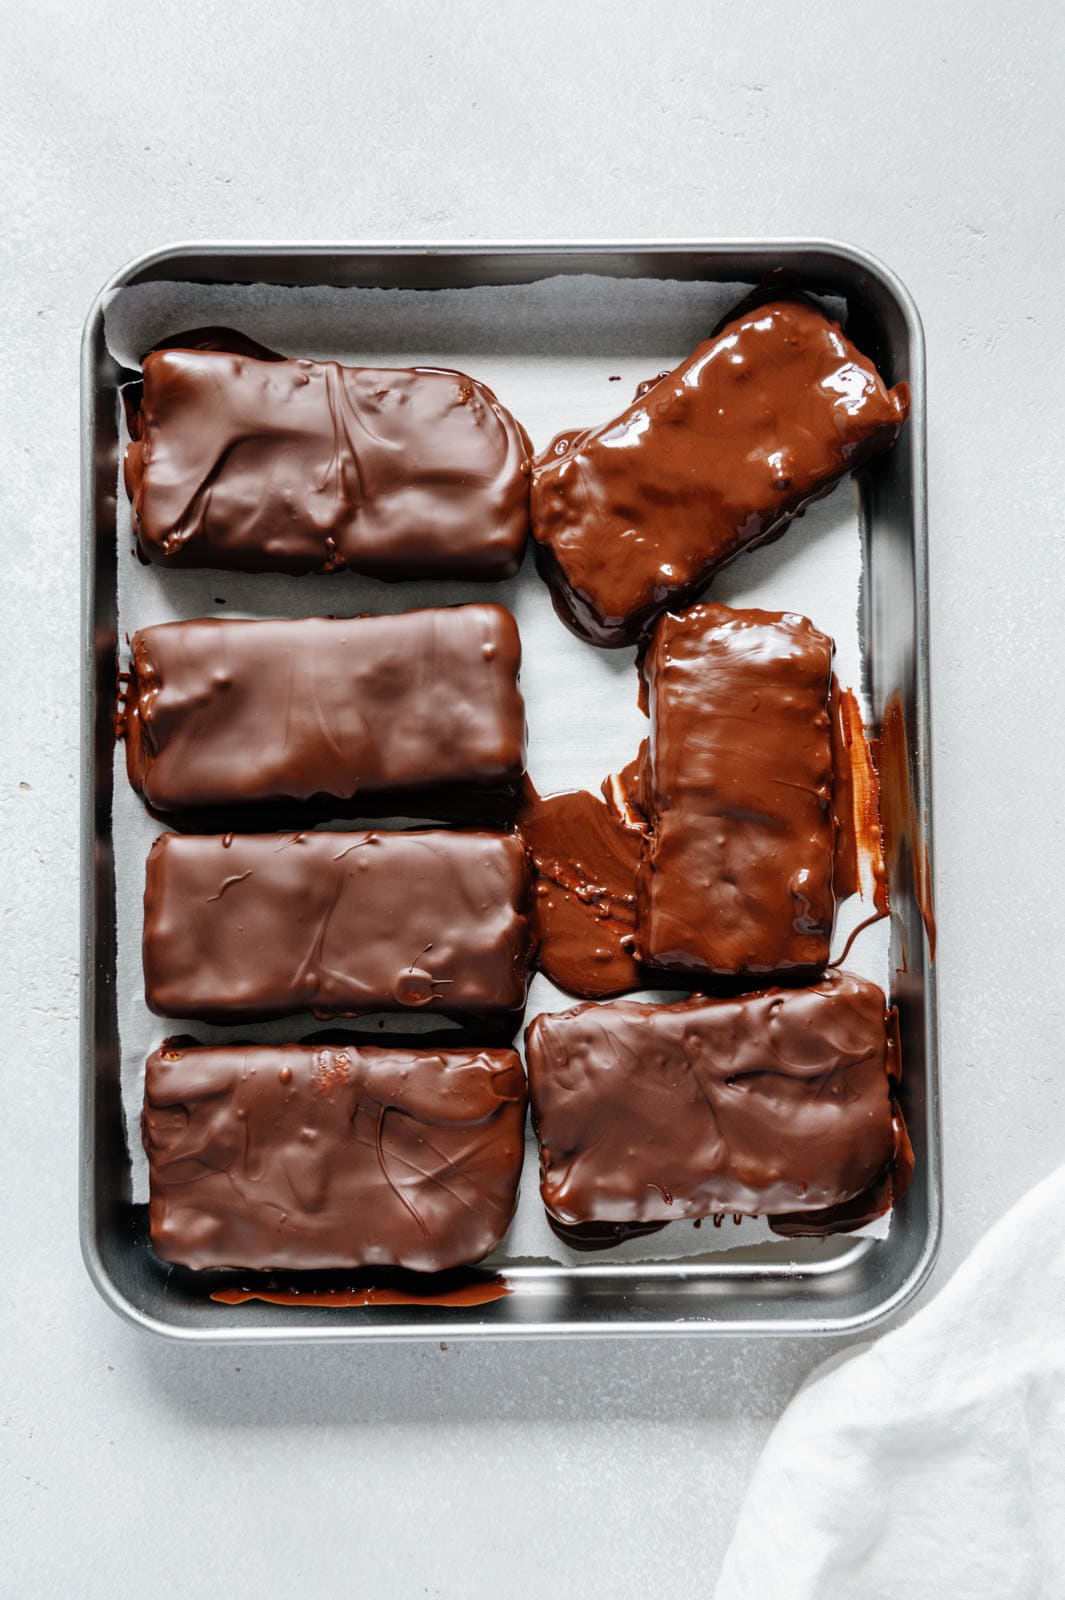
Line a baking sheet with parchment paper, and melt the chocolate chips on the stovetop or microwave.
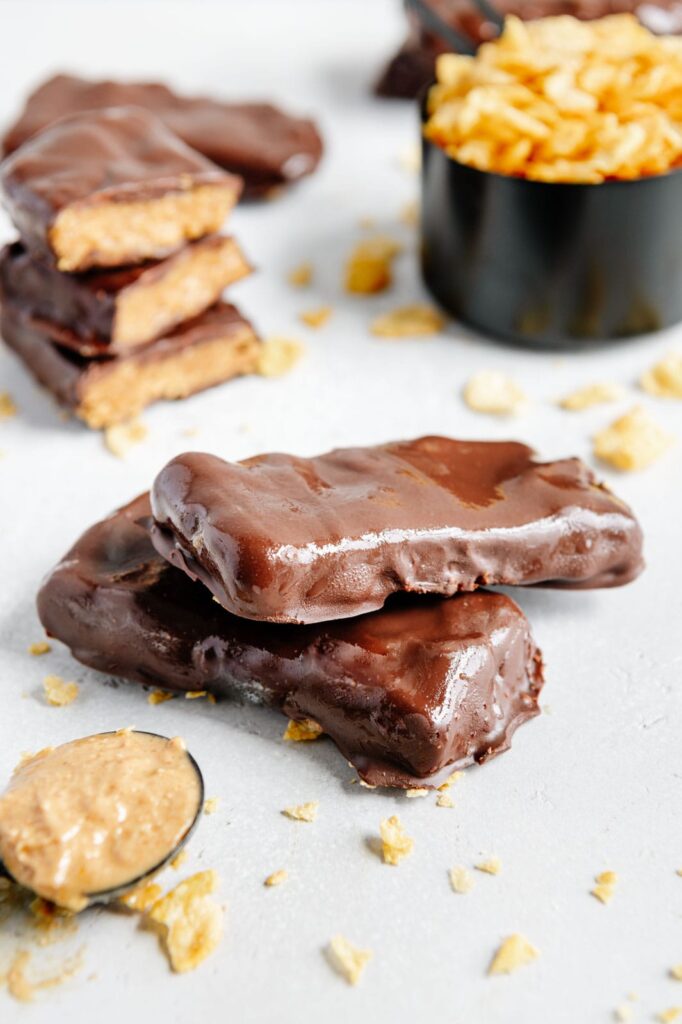
Using two forks, dip the bars into the melted chocolate to coat them completely. Allow the excess chocolate to drip off before placing them onto the parchment-lined baking sheet. Freeze them again for 10 minutes to set. Then, enjoy your homemade Butterfingers straight from the freezer!
Once the bars have set, consolidate them into an airtight container and store them in the freezer for up to three months.
Butterfingers Recipe FAQs
What cereal is best to use? You can use the classic cornflakes or I prefer either the Nature's Path Millet Rice Flakes or the One Degree Organic Sprouted Ancient Maize Flakes.
Is this recipe gluten-free? Both the Nature's Path and the One Degree Organic cereals are gluten-free, so if you use either of those this homemade candy bar is gluten-free!
Can I make this recipe nut-free? Absolutely! They might not taste as classic as the original, but feel free to use any nut butter you like and sunflower butter if you want to make this recipe completely nut-free.
Can I make these a different shape? Yes - if you plan on serving this at say a Halloween party, you can make them into bite-sized balls instead. Simply scoop the filling with a retractable cookie scoop, pop them in the freezer, then dip them in chocolate and freeze again! You can also buy different shaped molds like hearts, seashells, Christmas trees, etc. depending on the occasion.
How long do these homemade candy bars last? They don't last long in my house, but if you have more willpower than I do you can store them on the countertop (if you prefer a chewier candy bar) for up to 5 days or in an airtight container in the refrigerator (if you prefer a crispier candy bar) for up to 2 weeks. I also like eating them straight out of the freezer, which they will keep for up to a month in the freezer.
Why You'll Love This Recipe
There are really so many reasons to love this vegan Butterfingers recipe, but I'll try to hold myself back and keep it to a few. This recipe is...
- Quick and easy: I basically had all of the ingredients already on hand to make this recipe, and it only takes about 10 minutes to whip up and a little patience waiting for the bars to set before you are in candy heaven!
- Healthier (and in my opinion better) than the real deal: Making your own Butterfingers instead buying them at the store is not only way more fun, but it is so much healthier because you actually know every single ingredient going into them.
- Kid-friendly: If I have fun making this recipe, then I know that your kids will too! This is a great recipe for the kids because they help pour, stir, and freeze!
Let me know if you try out this vegan Butterfingers recipe, and if you do, I would love it if you left a rating and review below! Make sure you also follow along on Instagram and Pinterest for more food inspiration.
More Vegan Sweets and Treats to Try:
- Oreo Truffles
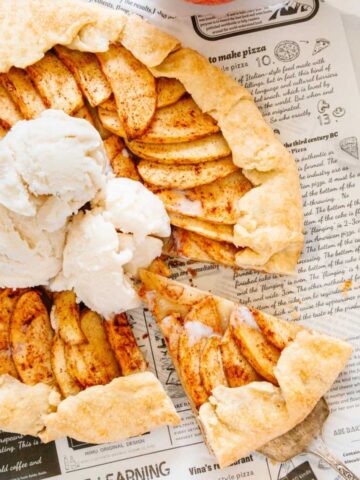
- Apple Galette
- Strawberry Lime Popsicles
- Cake Batter Ice Cream
- Chocolate Milkshake
- Strawberry Banana Popsicles
- Ice Cream Bars Dipped in Chocolate
- Millionaire Shortbread Bars
- Funfetti Protein Bites
- Lemon Poppy Seed Donuts
📖 Recipe
Vegan Butterfingers
- Total Time: 1 hour 15 minutes
- Yield: 8 bars 1x
- Diet: Vegan
Description
This homemade vegan Butterfingers has all of the crunchy, peanut buttery, chocolatey flavors, but is so much healthier than store-bought!
Ingredients
- 1 cup peanut butter (the runnier, the better)
- ½ teaspoon vanilla extract
- ½ teaspoon salt
- ½ cup maple syrup
- 1 ½ cup cornflakes cereal, crushed
- 1 cup vegan chocolate chips
- 1 teaspoon coconut oil
Instructions
- Place the cornflakes in a reusable bag and crush them until they are ground into a medium-fine crumb. Then, pour the cornflakes into a large mixing bowl.
- To the mixing bowl, add the peanut butter, vanilla extract, and salt. Stir until everything is combined, and set aside.
- In a non-stick saucepan, heat the maple syrup on medium heat mixing consistently so nothing burns. Right as the maple syrup is about to boil (3-5 minutes), pour it over the peanut butter mixture. Mix until everything is incorporated.
- Transfer the mixture to an 8x8 baking pan lined with parchment paper. Use a rubber spatula to press down the mixture into an even layer. Freeze for an hour until the filling sets.
- After the filling has set, slice into 8 bars.
- Line a baking sheet with parchment paper, and melt the chocolate chips with the coconut oil on the stovetop or microwave.
- Using two forks, dip the bars into the melted chocolate to coat them completely. Allow the excess chocolate to drip off before placing them onto the parchment-lined baking sheet. Freeze them again for 10 minutes to set. Then, enjoy your homemade Butterfingers straight from the freezer!
- Once the bars have set, consolidate them into an airtight container and store them in the freezer for up to three months.
- Prep Time: 10 Minutes
- Freezer Time: 60 Minutes
- Cook Time: 5 Minutes
- Category: Dessert
- Method: Freezer
- Cuisine: American
Nutrition
- Serving Size: 1 Butterfinger bar
- Calories: 665
- Sugar: 29.5g
- Sodium: 187mg
- Fat: 43.4g
- Saturated Fat: 11.5g
- Carbohydrates: 48g
- Fiber: 7.3g
- Protein: 17g
- Cholesterol: 0mg
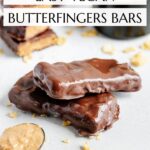
Pin the image below to save this recipe for Halloween!